In today’s tutorial, we’re going to teach you how to add neat social media icons to your email signature and link them to your social media profiles. We’ve included five free profile icons for you to get started. If you need more, simply email us and we’ll create some more! The following tutorial works with Microsoft 2010 and 2013. If you use another email program or service, please reply to this email and we’ll create a tutorial just for you.
We always want to provide value to our clients, so if you’d like us to guide you through this process over the phone, drop us a line at (801) 923-8220. We’d be happy to help.
Well, here goes!
Step 1: Download the icons and unzip the file by double-clicking on social-media-icons.zip.
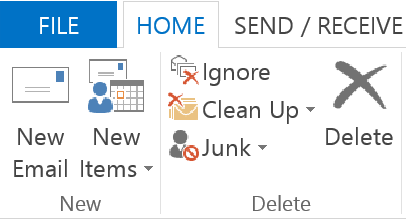
Step 2: Open Microsoft Outlook and select New Email.
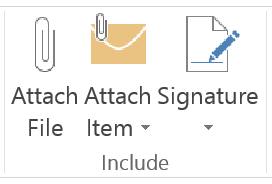
Step 3: Locate the Signatures panel and click the arrow.
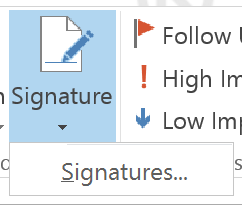
Step 4: Choose Signatures… from the drop-down menu.
Step 5: From the Signatures window, choose New.
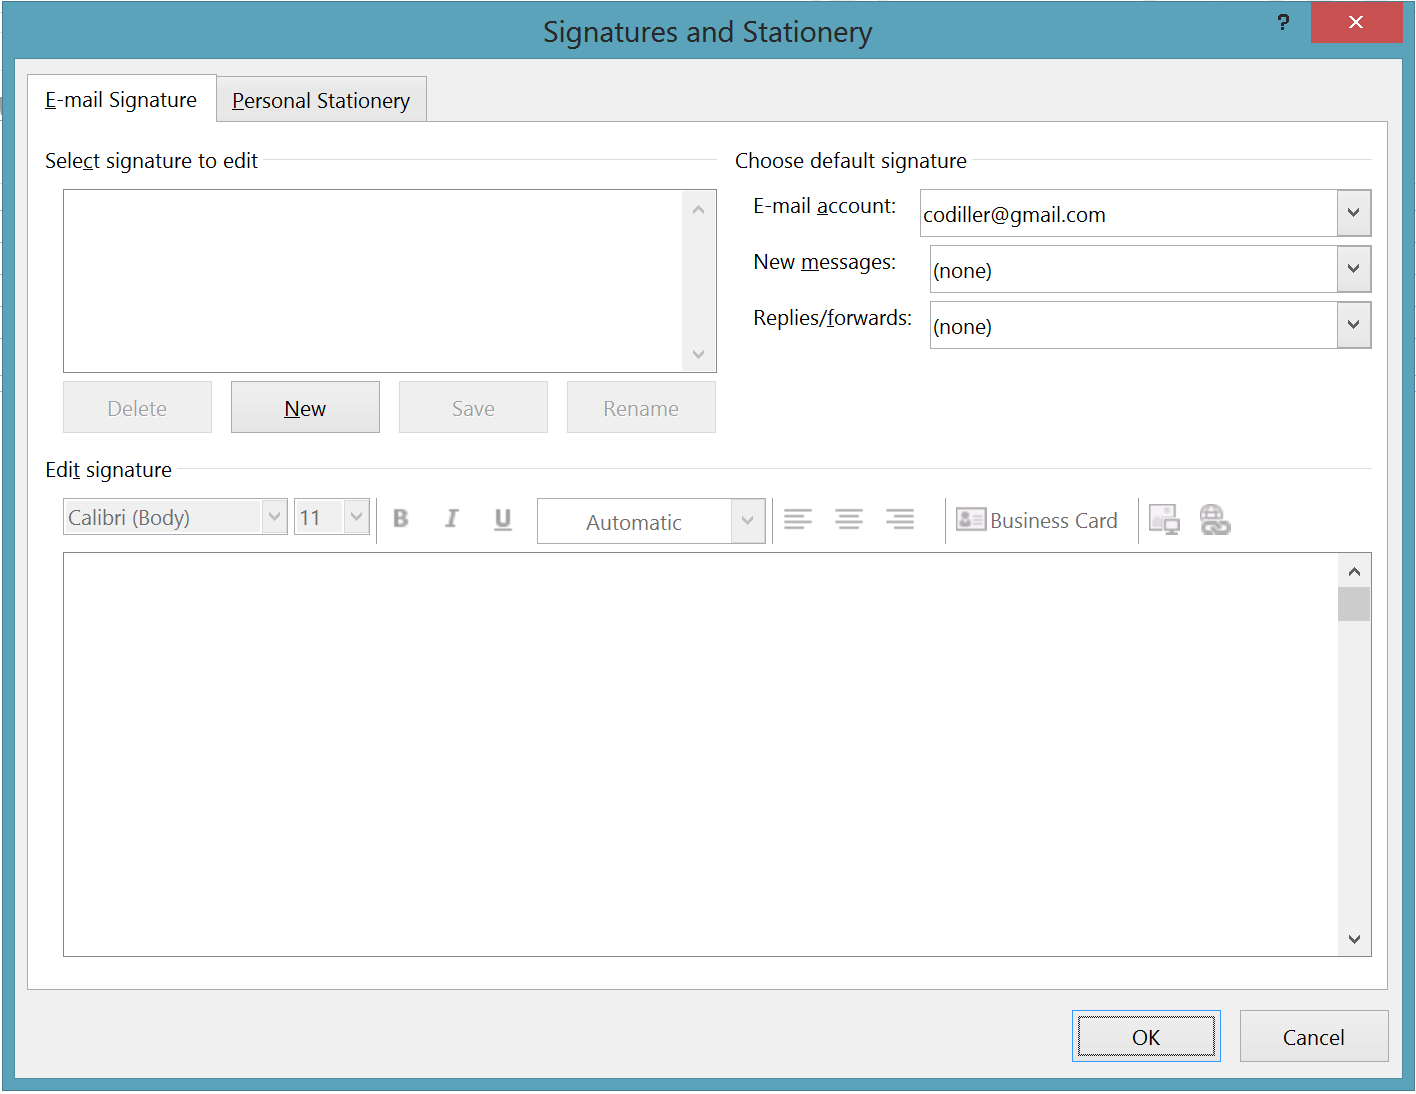
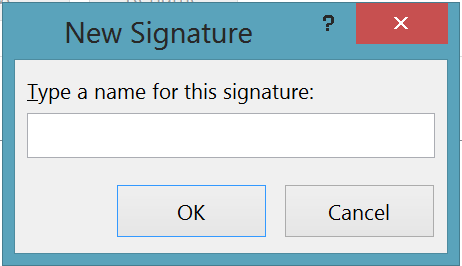
Step 6: Type a name for your signature.
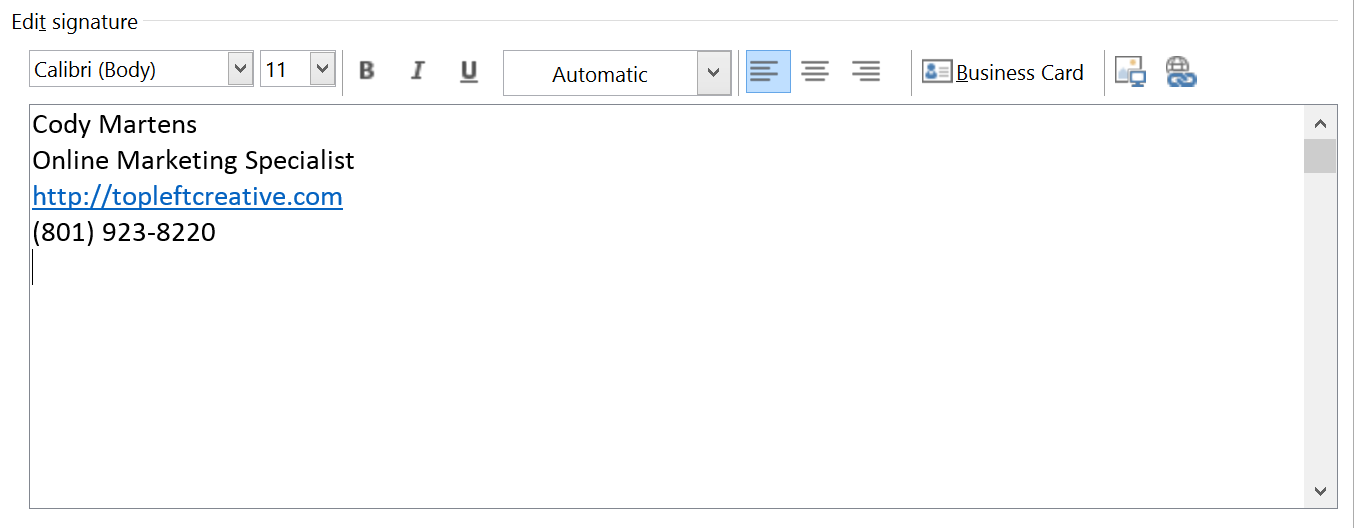
Step 7: Type your signature’s text information.
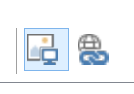
Step 8: Choose Insert Picture from the menu bar.
Step 9: Navigate to where you saved the download in step 1, choose your first image and click Insert.

Step 10: With the image selected, click Insert Hyperlink from the menu bar.

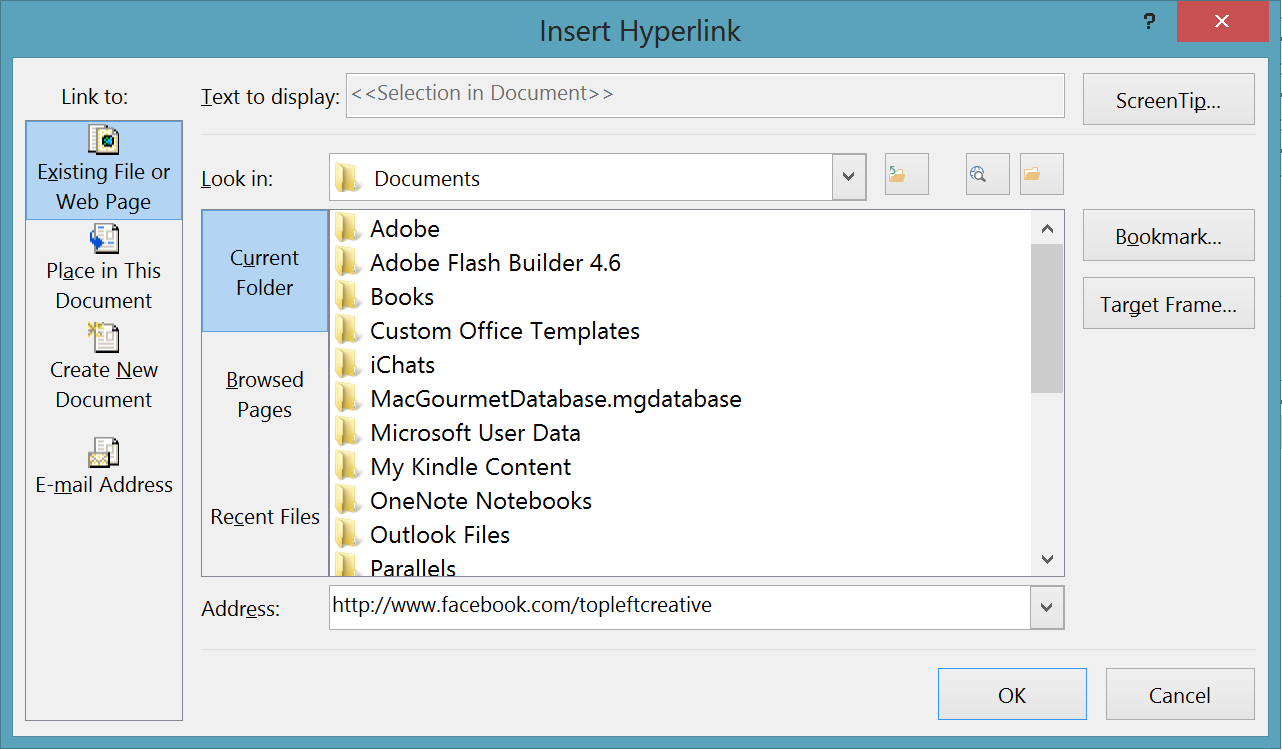
Step 11: Enter the URL for your social media account and click OK.
That’s it! Repeat steps 8-11 for each additional social media icon/link you wish to add to your email signature.
Make sure you save your signature when you are finished. Now, whenever you send an email, anyone who receives it can click on the icon and go directly to your social media profile.
Leave a Reply